

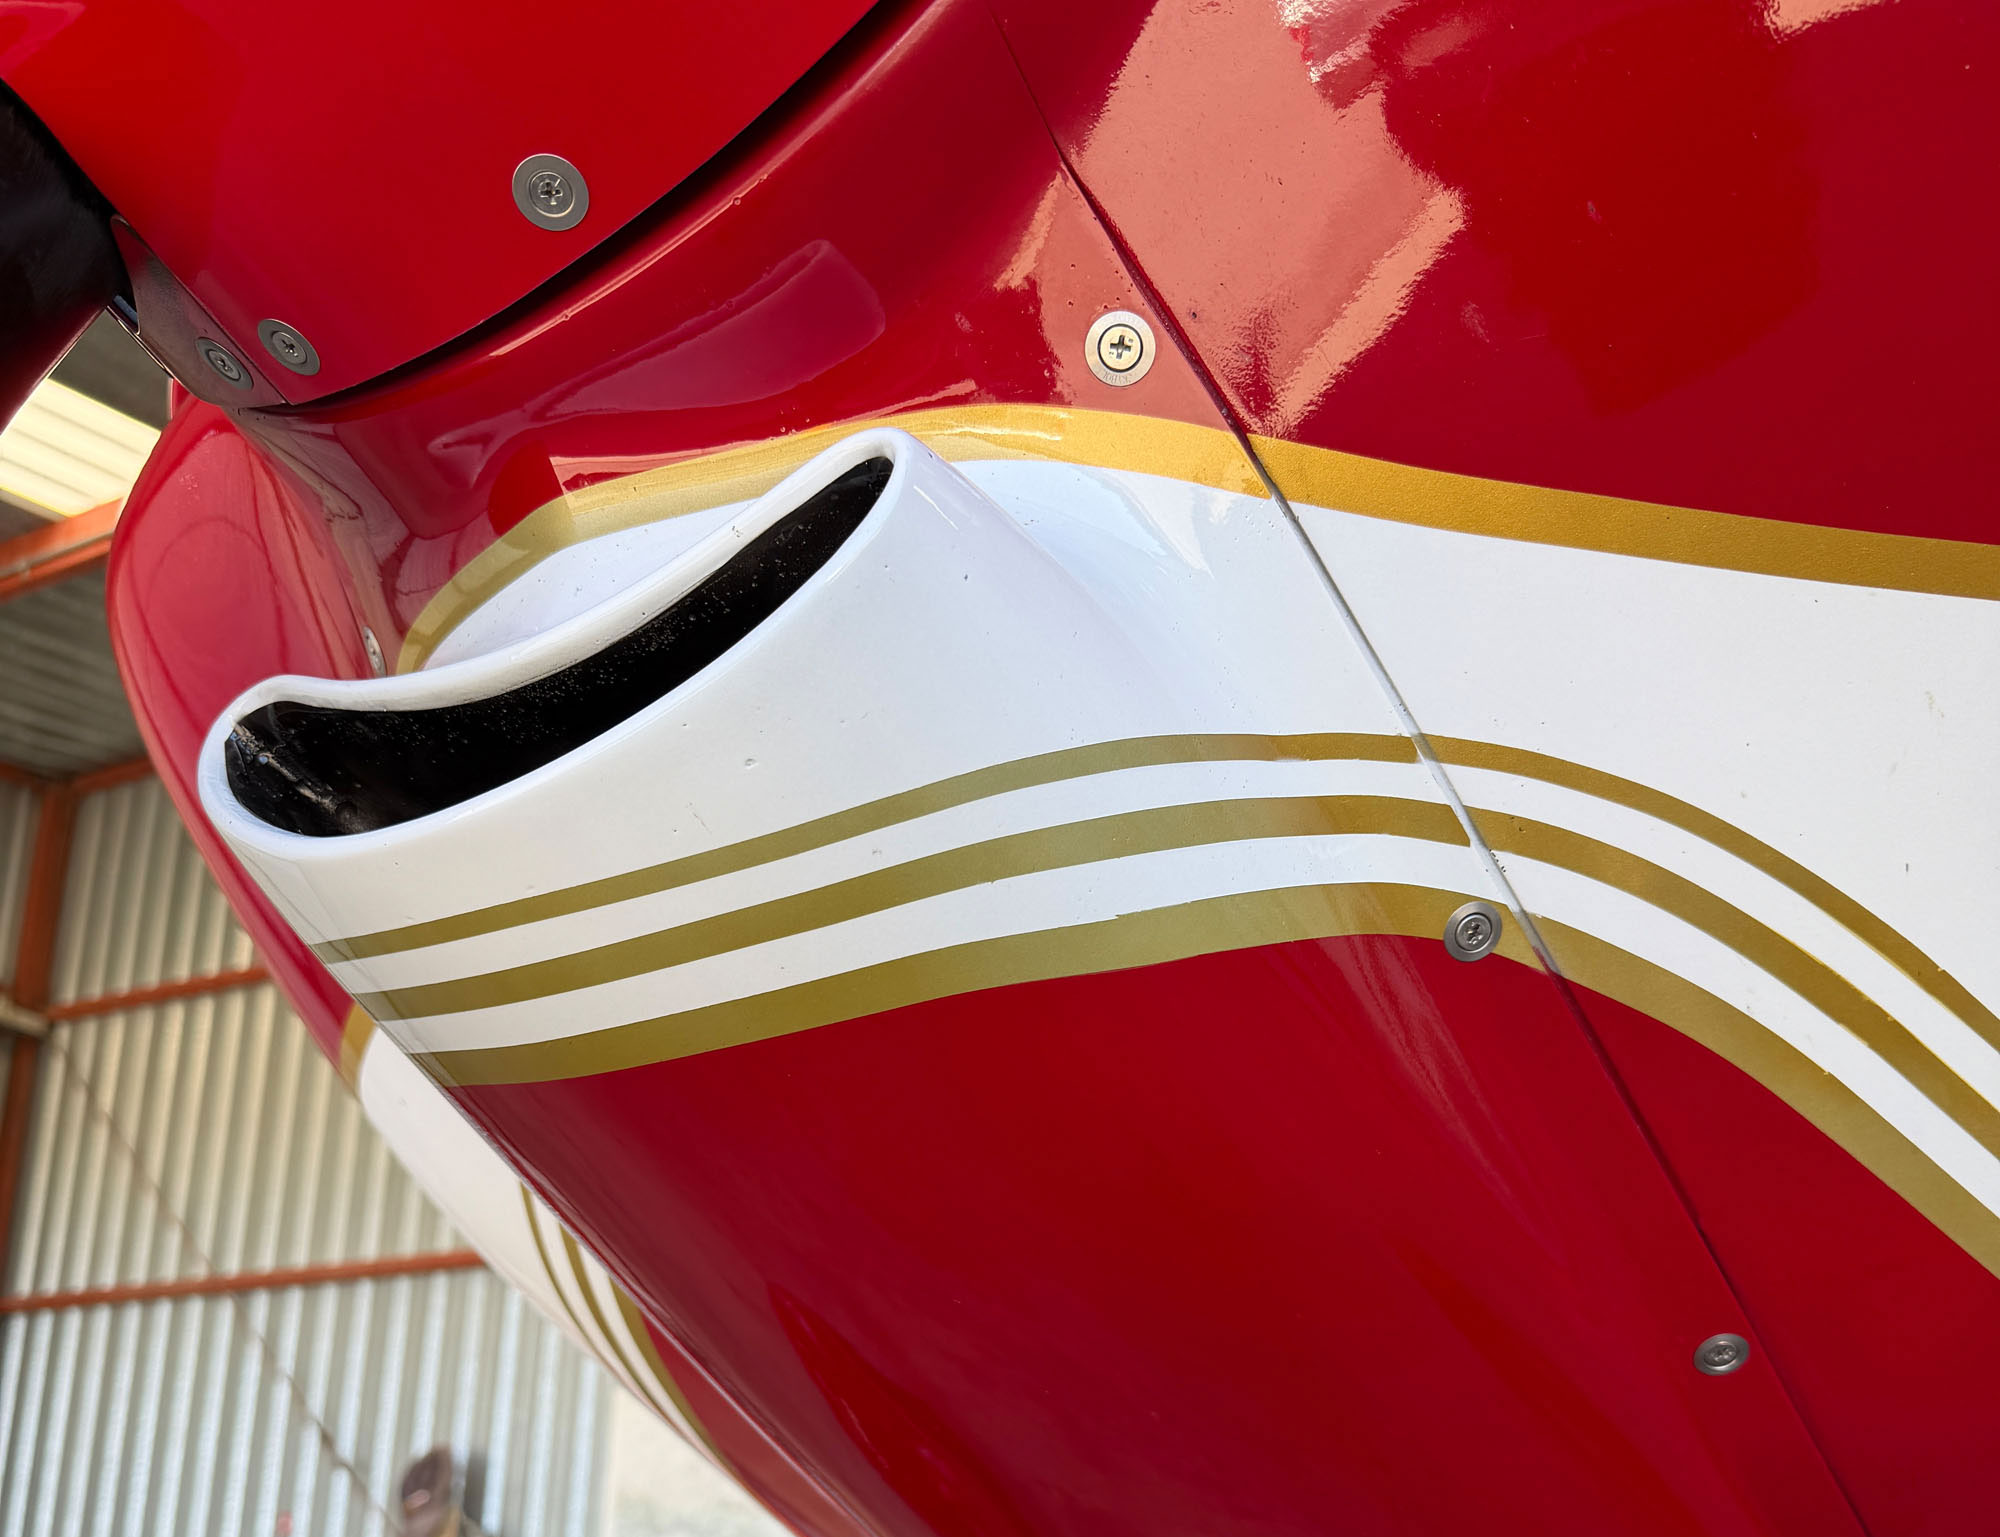
I have been a part of the experimental aircraft world for a long time, and the general aviation world for longer than that. I have seen lots of airplanes and projects, many different builders—and many different TYPES of builders. There are those who just want a flying airplane that is cheaper than a certificated plane to acquire and maintain. There are those who want an airplane that looks (and is built) as good as any you can find from a factory. And there are those who want to build a unique look (an outstanding machine with lots of “trick” elements to wow other builders—and maybe a few judges).
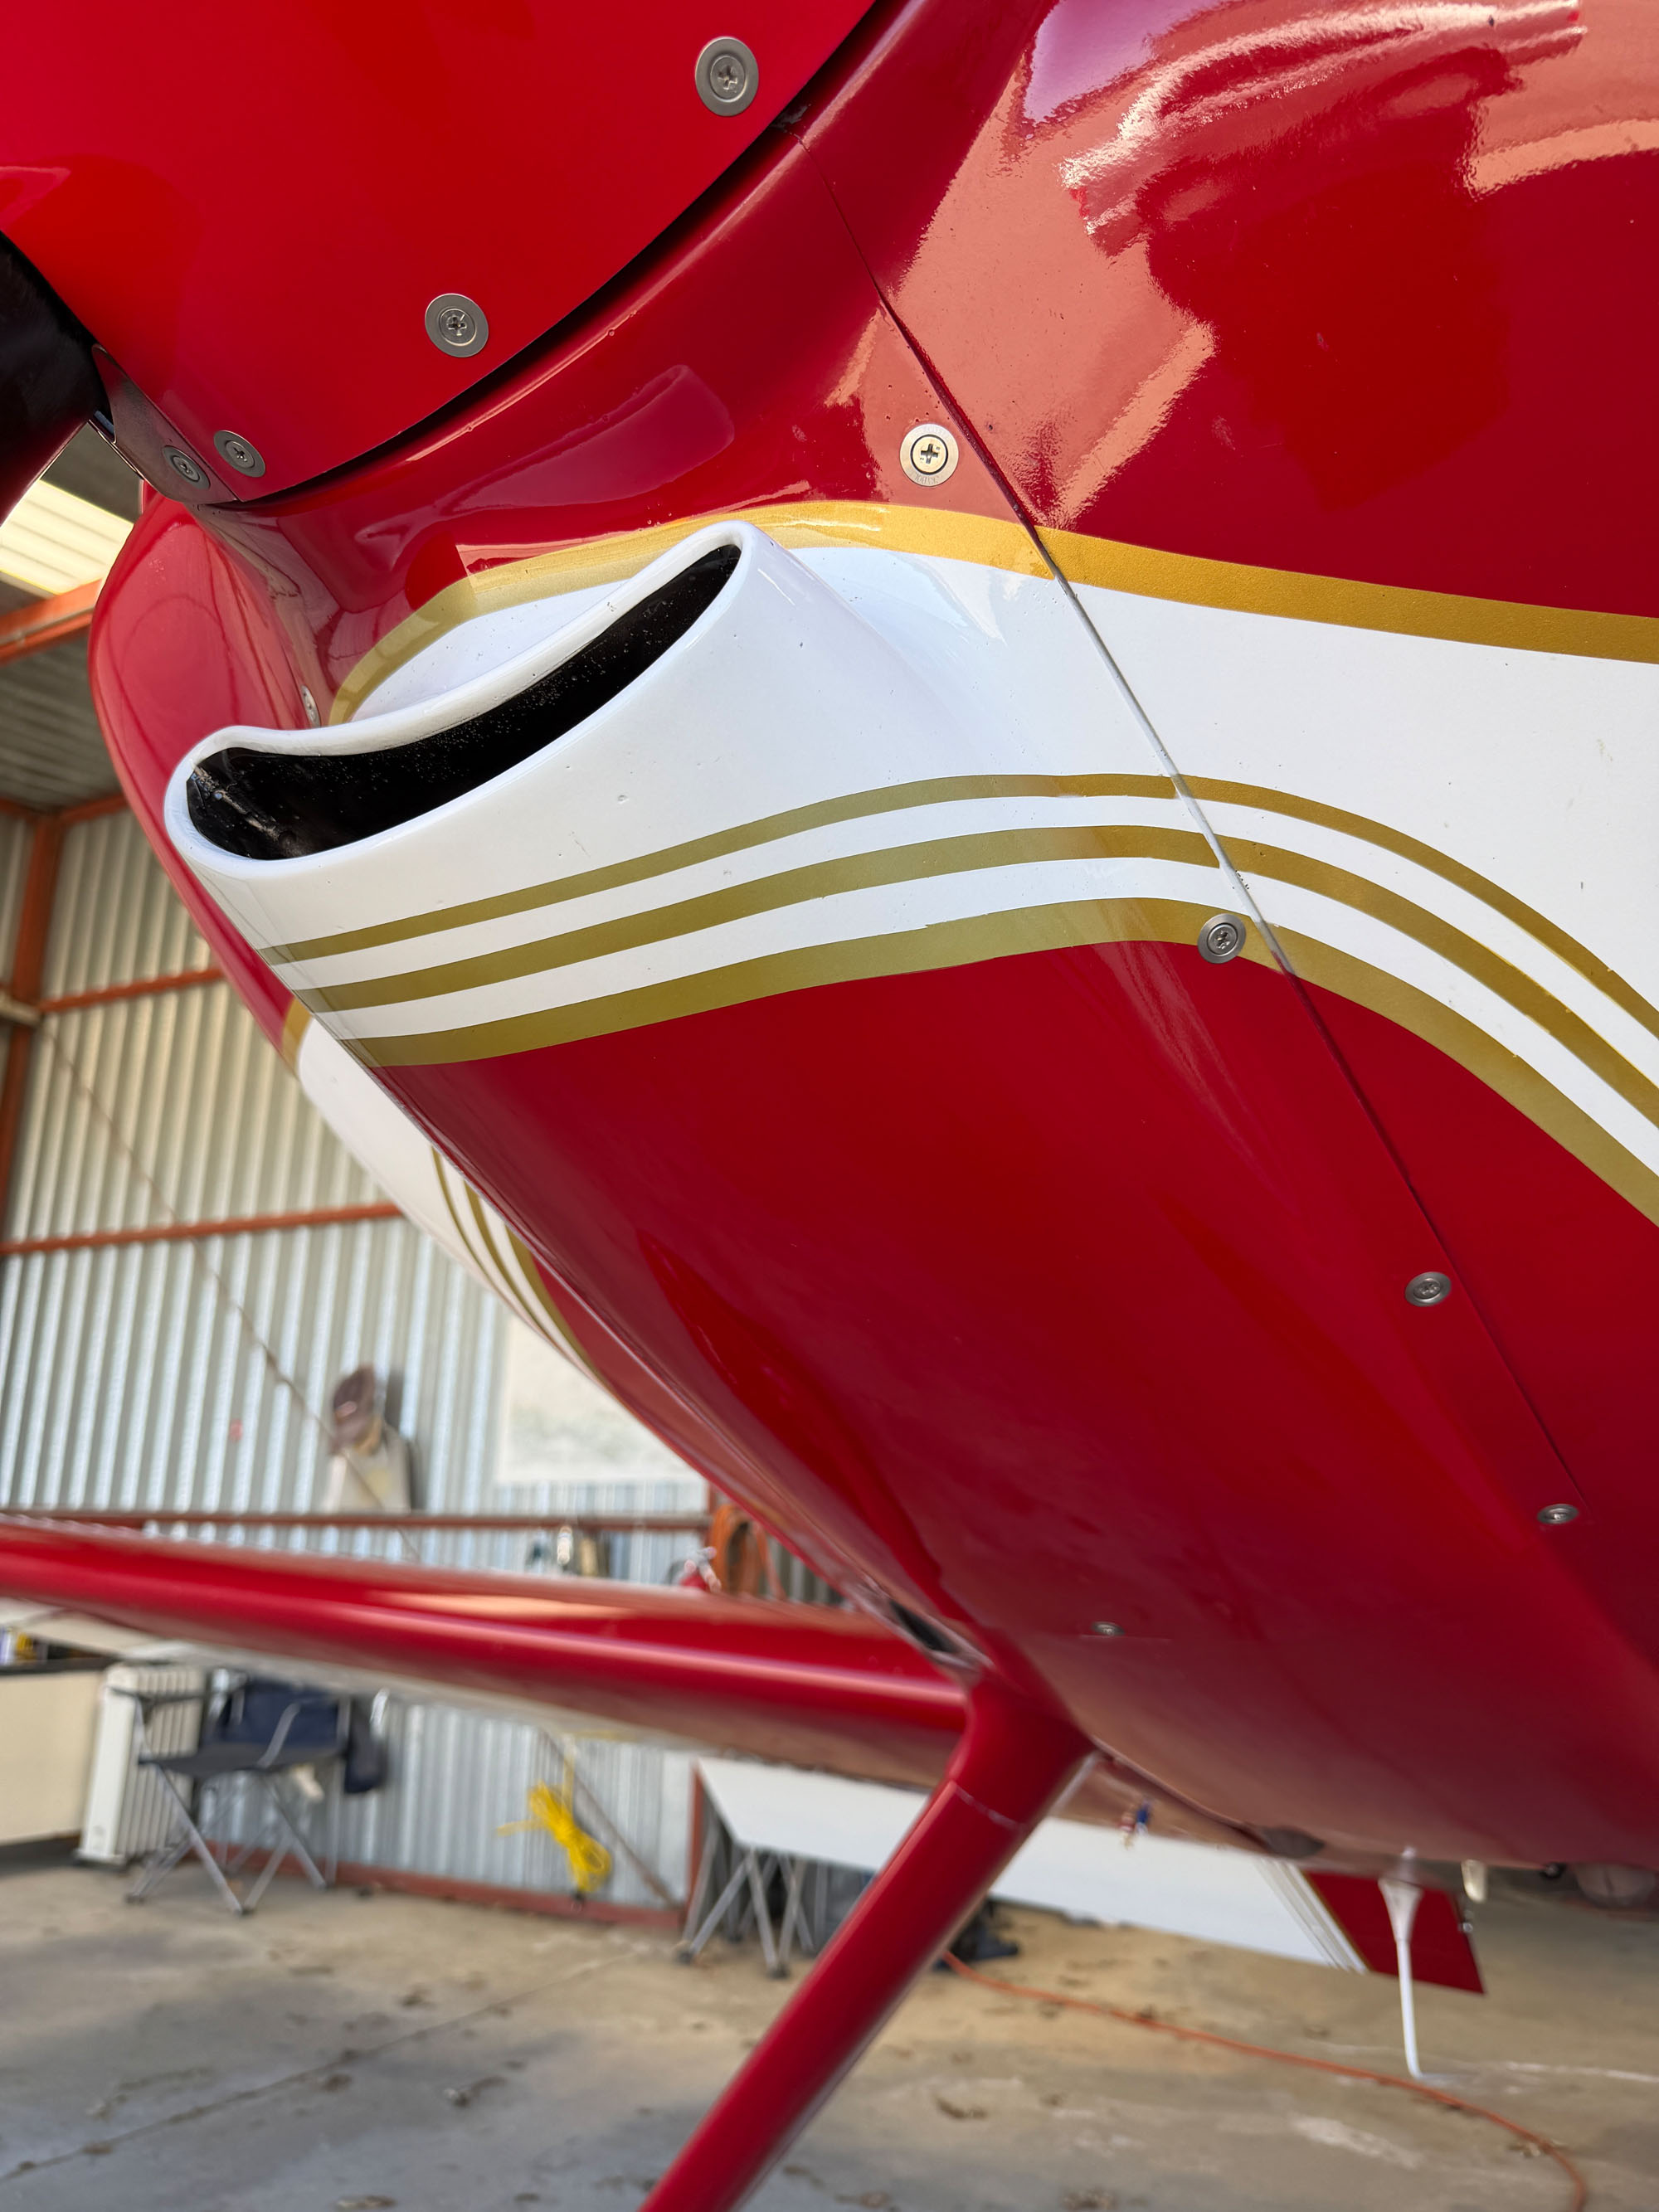
But above all, I have seen projects that get finished—and those that never leave the workshop. And a lot of that has to do with the builder’s goals (as mentioned above) as well as their resources for time, funds—and creativity. And for those wondering if they are ever going to finish, I like to tell them first, you have to build it “SAFE.” Then you can build it “PRETTY.” And only once it is safe and pretty, you can build it “TRICK.” Let’s explore what I mean.
Building it “safe” means finishing a kit (or a plane built to plans) as close to the design intent as possible, using good, accepted techniques and practices. If it is an aluminum airplane, you need your rivets to be to spec and uniform. If you are building in glass, you need to make sure that you don’t have voids between layups and that your bonds are solid. If you are building tube and fabric, the welds need to be aviation quality … and so forth. For any airplane, wiring, plumbing, and control connections—all of these things need to be up to a standard that meets the requirements documents in publications like AC 43.13, the Bingelis books, and many other guides to good practices and designs for people-carrying aircraft.
If you build to these standards, it won’t make any difference if you have scuffed aluminum instead of polished, if you have a simple paint scheme (or no paint scheme, or if you have no interior finish other than seats)—the airplane should fly, it should be controllable, and the systems (and engine) should operate reliably. The airplane can be as simple—day VFR for instance—as your personal requirements dictate. It doesn’t have to be fancy to fly. Making it safe means it will be there in your hangar ready to go whenever you want, and you can be proud that you have actually finished an airplane and can fly it to your heart’s content. A safe airplane that flies is better than a project that never leaves the workshop.
Once you have ensured that the airplane you are building is going to be safe, you can move on to “pretty.” That might well be the same airplane (that you make “pretty” at the same time as you make it safe), or it might be a second (or third) project, using the lessons and skills you learned earlier to make things a little more refined. What does it take to make things pretty? Even lines, smooth surfaces, every rivet perfect—all of the little craftsmanship details that people see when they look at your airplane up close. Paint does have a lot to do with it—for paint can hide many sins—at least among the general public (judges can be harder to fool … ).
When you are looking for “pretty,” you are looking for smooth lines and transitions, perfect rivets, even gaps between cowl pieces—all of the things that take extra time when building. When you look inside an engine cowling, the hoses should match and be properly restrained, wiring bundles should be nicely parallel, and Adel clamps should retain things so that nothing wiggles or wobbles. Leaks shouldn’t just be cleaned up—they should be stopped as soon as they are apparent. Safety wiring should be uniform and skillfully executed, cotter pins all bent properly—in other words, careful attention to detail is a key to “pretty.”
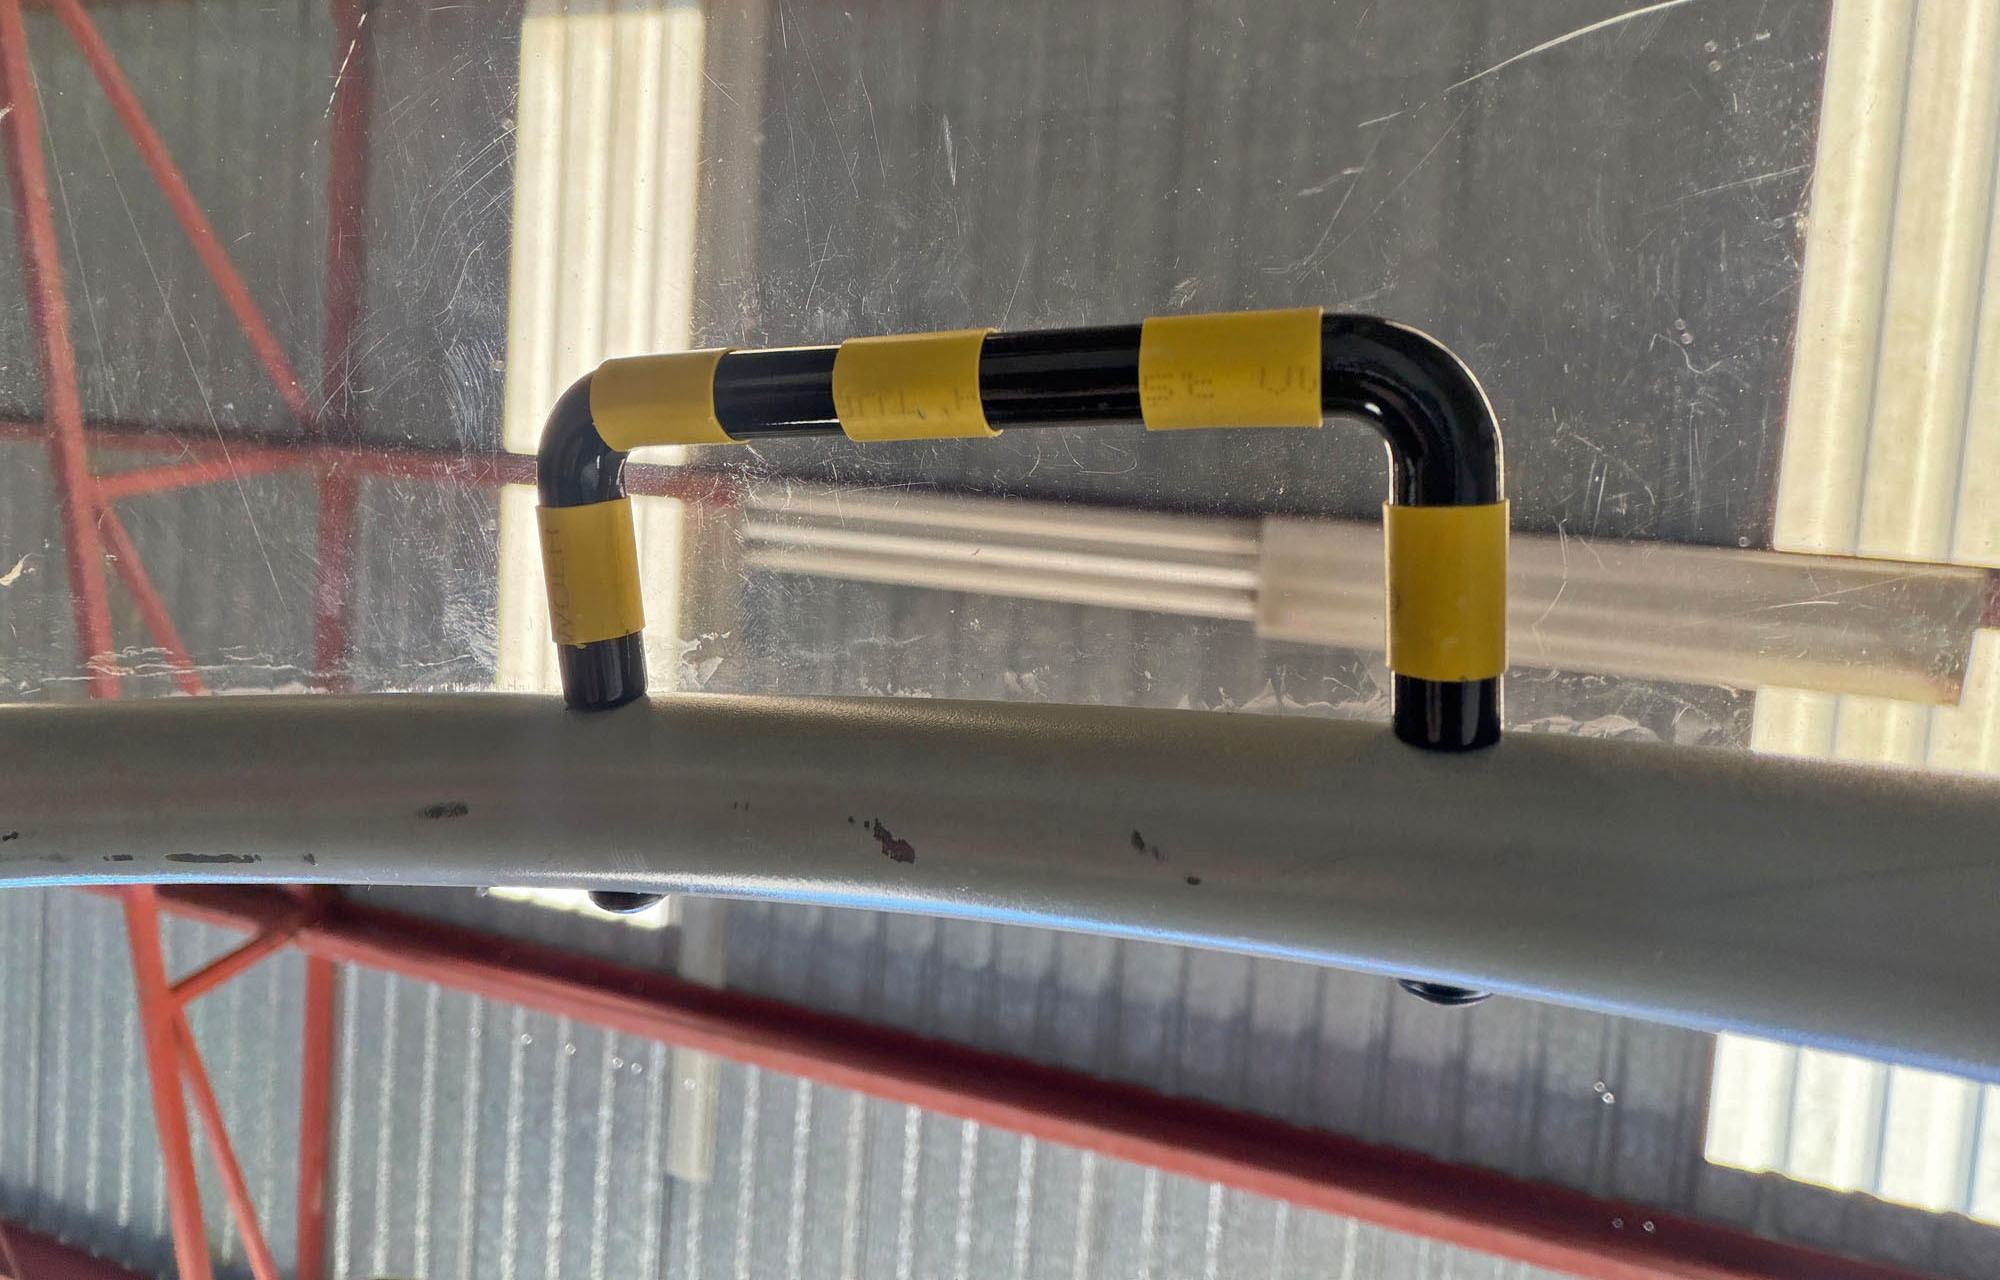
Pretty might also extend to your choice of avionics and optional features like storage bins and pockets in the interior, cargo restraints, and neat, precise labeling. Where the “safe” airplane might use stick-on labels, the pretty airplane might have silkscreened nomenclature and placards. I have heard people use the phrase “it looks like it was built in a factory” to indicate that an airplane is particularly pretty—as odd as that might sound to homebuilders. Pretty wins awards, because many of the judging standards align with the idea. But what about custom … what do you get when you get creative and original? That is what I like to refer to as “trick.”
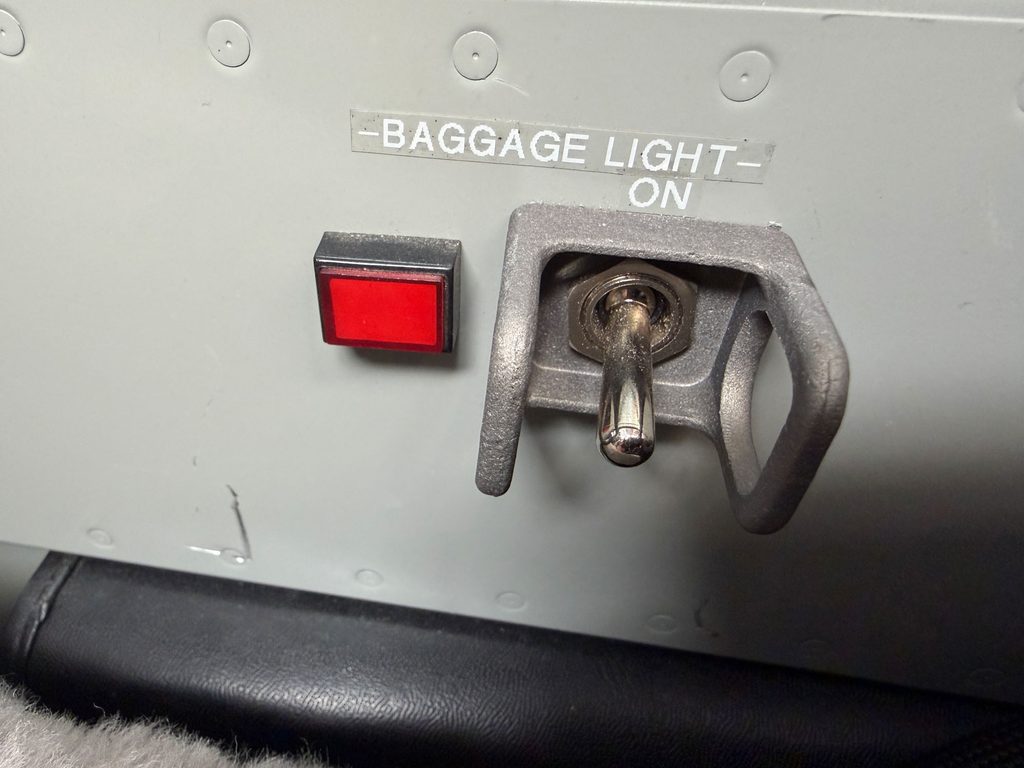
A good “trick” function might be remote-controlled gull-wing doors. Lots of work would go into something like that. Don’t want to build with robotics? Well, trick could also mean powder-coated Adel clamps in the engine compartment that match the paint scheme. Custom instrument panels can be very trick—especially when you start tilting screens for better sight lines for the pilot. I recently saw a design where the right side EFIS screen could be tilted towards the pilot—with smooth fairings so that you couldn’t see wires when it swung … and not only did it move, it moved with a motor and a switch controlled by the pilot! Now that … is trick.
Making things trick is usually the sign of an experienced builder who is exercising all the skills they have learned and creatively trying new things. The only potential gotcha is that, frequently, creativity leads down dead ends, and you have to throw things away to start over. In other words, “trick” can be costly in terms of money—as well as time. Trying to build things to trick when you are new to airplane building can easily lead you to an abandoned project because you run out of both time and money, and you don’t have the skills to work your way forward. Oh yes—trick can also lead to “heavy”—so be careful that you don’t add so many bells and whistles that your airplane won’t fly well.
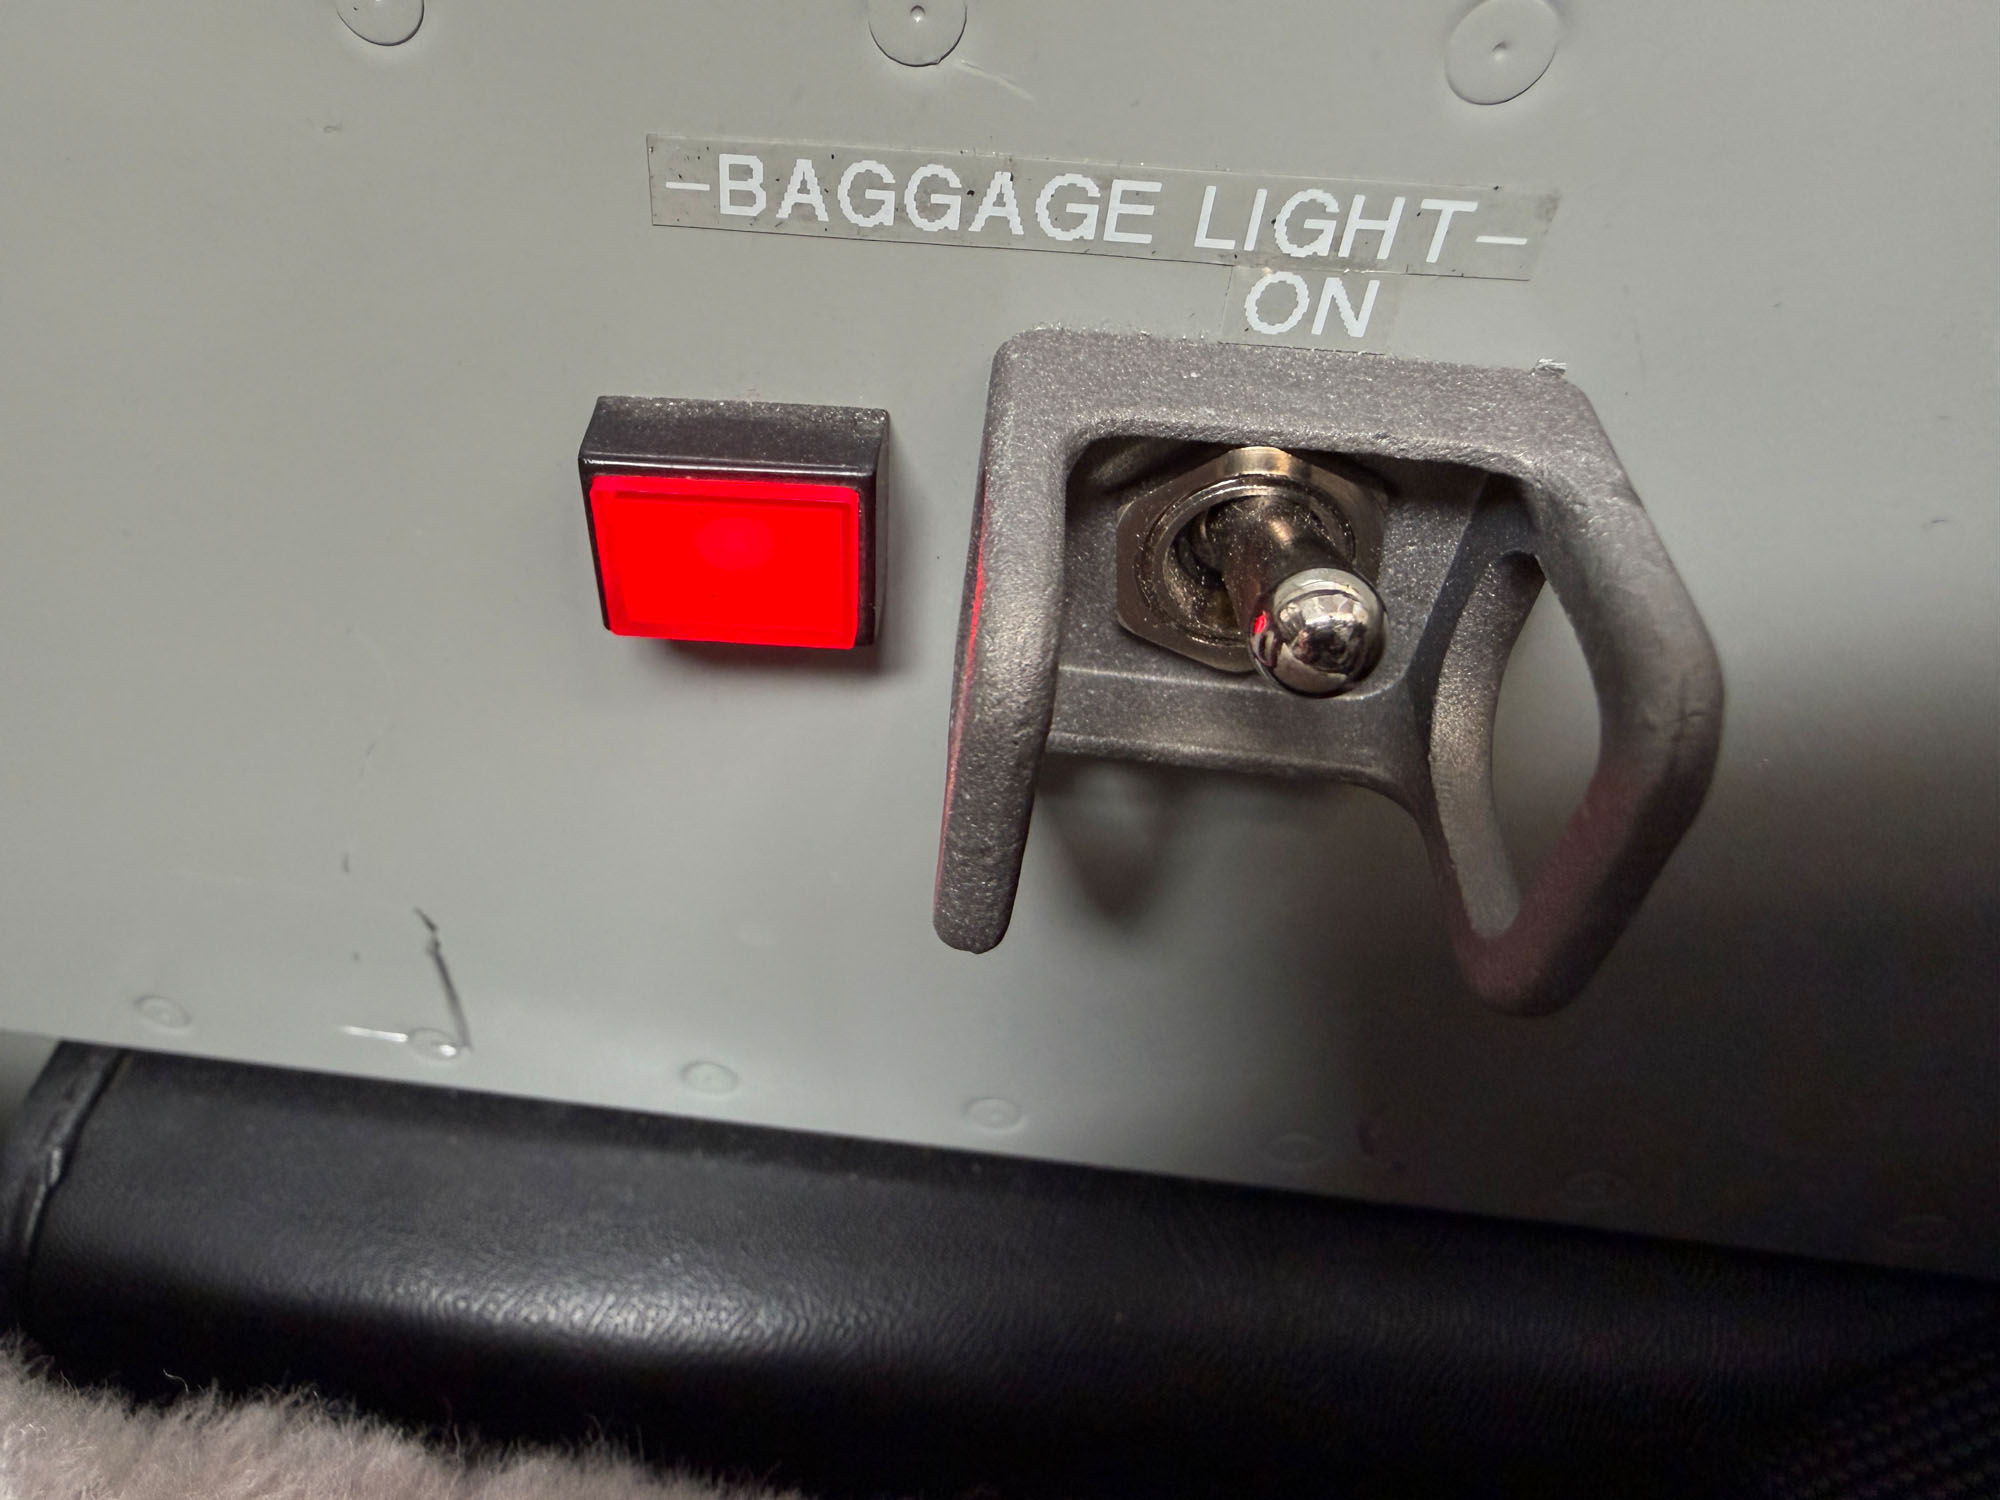
The real thing to be careful about is not getting these three steps out of order. I have seen too many people trying to make an airplane “trick” before they made it safe—and the end result was something with lots of cool features that would never fly. And making things pretty can be VERY expensive—leading to broken dreams when the builder simply can’t get to the end.
Safe … then pretty … then trick—keep your building goals in that order and you will get yourself flying and be proud of your work—no matter where you stop in the process.

Don’t know the source, but its been on my shop wall for years:
Homebuilder’s Serenity Prayer:
God grand me the skills to install the stuff I need, the willpower to resist installing the stuff I don’t need, and the wisdom to know the difference.
Thats a classic, well said!