

If you grew up rebuilding the motor for your high school hot rod, you probably think piston ring compressors are a cylindrical band of thin metal that clips onto a pliers-like tool and wraps around the piston to reduce the ring diameter so you can slip things into the cylinders. If you then grew into aviation mechanic work and attended the Lycoming engine school, you asked for the ring compressor and were handed this heavy ring of steel with a slot and an internal taper … and wondered “what the heck is this?”
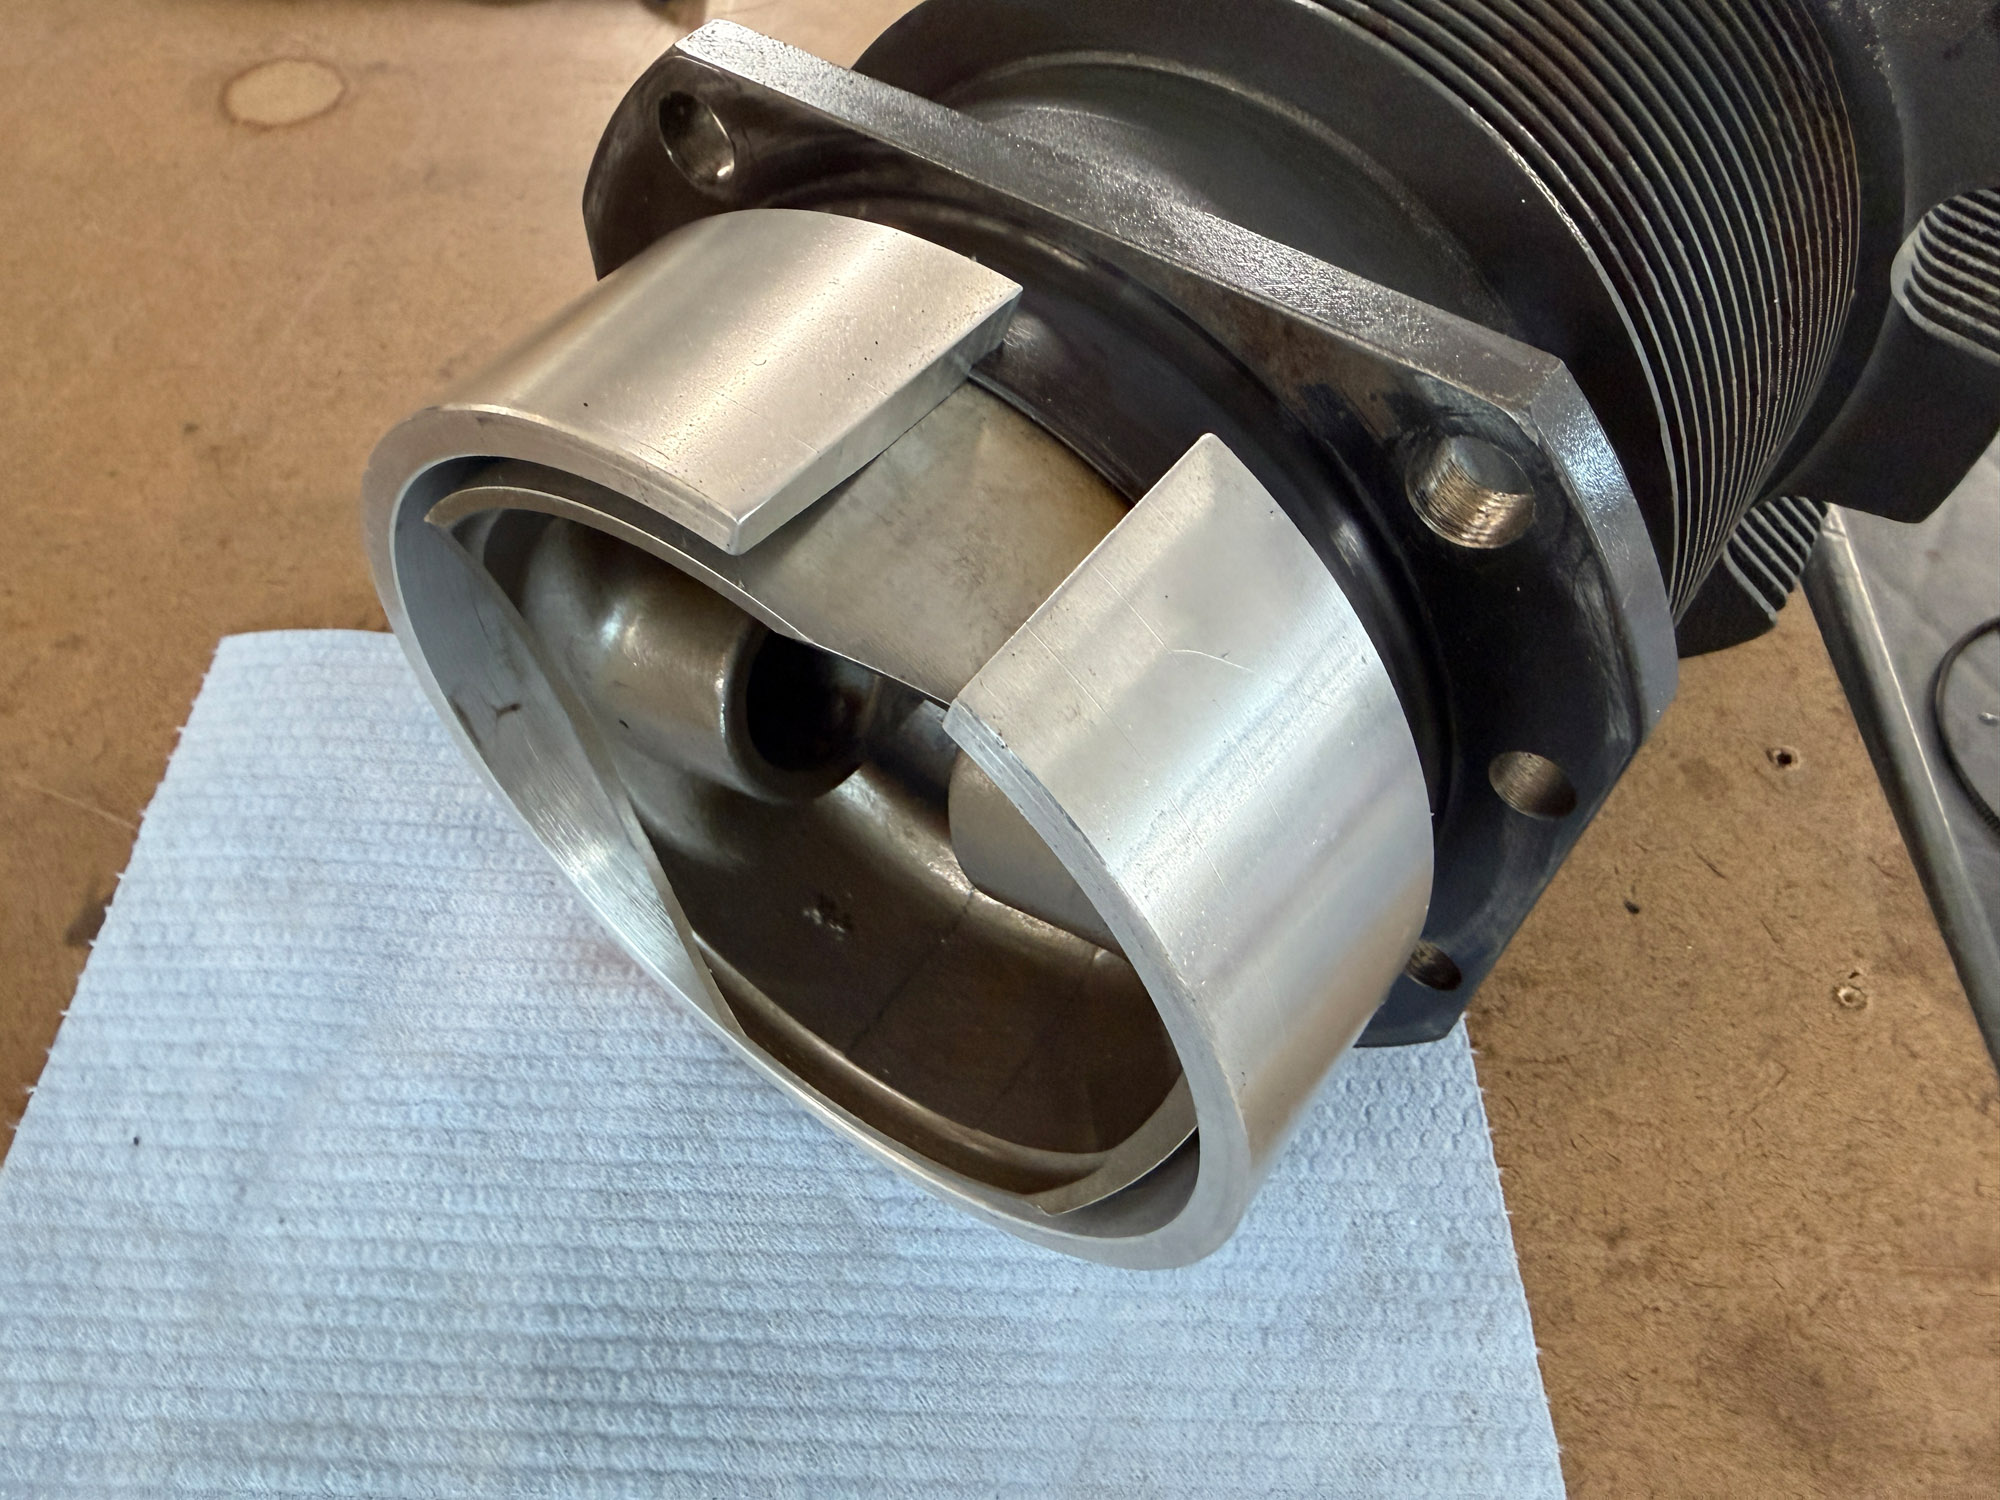
Well, the Lycoming ring compressor is indeed that metal ring with a slot and an internal taper that works incredibly well for sliding a cylinder in place over a piston that is already installed on the end of the connecting rod. You pop the compressor ring onto the bottom of the cylinder, start it over the piston, and push—the taper inside the compressor ring squeezes the rings as you slide it on, and when the piston is fully inserted, the tool slides off, with the connecting rod going through the slot. There’s no (or little) cursing involved—it’s just a slick process that leaves you smiling every time.
The only problem with the Lycoming ring compressor tool is the cost. It is a machined steel ring that (10 years ago) cost about $900. A recent check of the Lycoming price list shows it to now be over $9,000—for a single ring! [Note to proofreader—that is NOT a typo … it is indeed nine thousand dollars!]* Clearly Lycoming doesn’t actually want anyone to buy the tool—at least not undercapitalized individual homebuilders.
Fortunately, we are people who build our own airplanes—certainly, we can build our own tools—especially with an incentive like that! Years ago, I visited a friend’s machine shop and we made a similar tool out of a piece of thick-walled aluminum tube that he had on hand—we omitted the slot because we were afraid that there might be residual stress in the tube, and cutting the slot might change the final dimension. So, we used the tool to put pistons into cylinders far enough so that we could then hold the piston/cylinder combination in position to install the piston pin—not quite as nice as the Lycoming tool, but better than the automotive ring compressors.
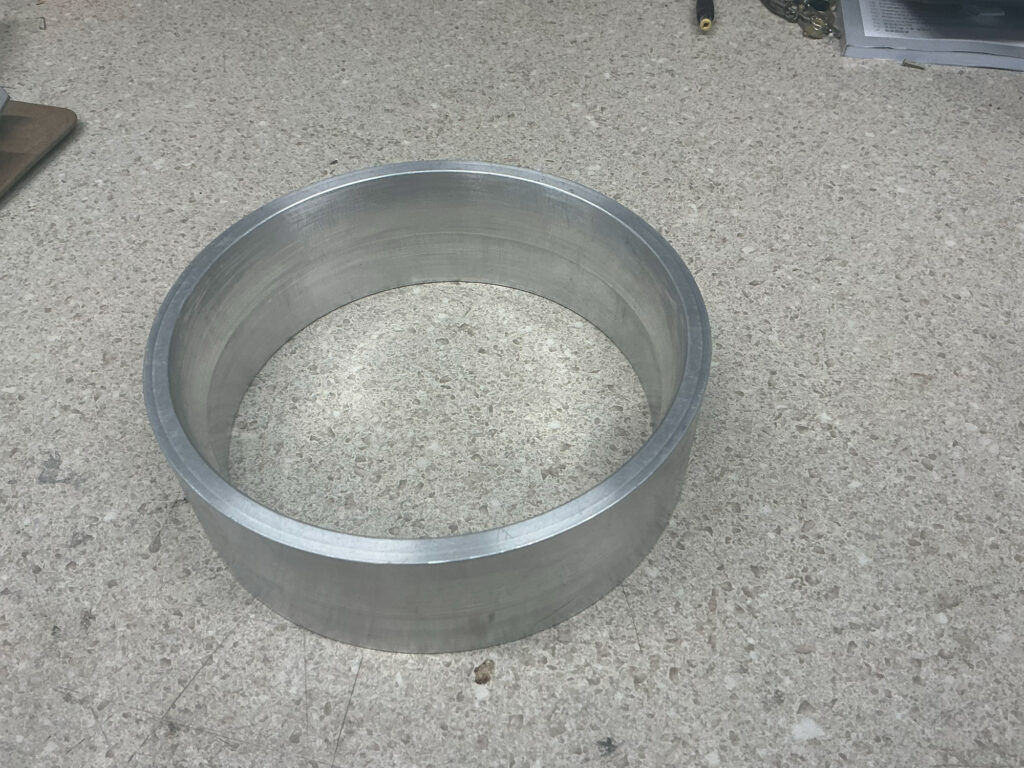
When we found out that the price had gone beyond the stratosphere and into orbit, we decided to revisit the tool, and having a good friend—RV-4 and Harmon Rocket award-winning builder David Howe—with a very good lathe and some time to experiment, we bought a chunk of aluminum tube with the right inside and outside diameters and set him to work. Why aluminum instead of the Lycoming steel? Well, we couldn’t find a suitable size of steel tubing of the correct dimensions and would have had to start with a solid billet—more work than we wanted to put into the project if we could get away with it. The piece of raw aluminum stock for three tools was about $100 from McMaster-Carr—a reasonable amount to experiment with.
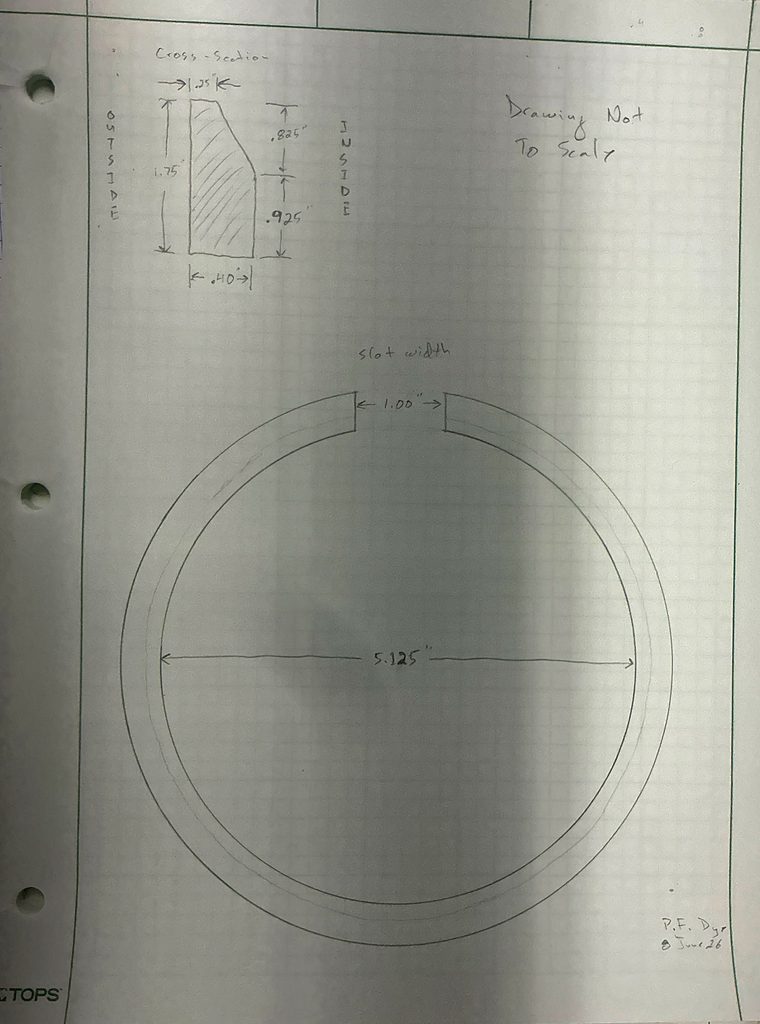
The lathe work is fairly easy—the only critical dimensions being the internal cylindrical section (which has to be the internal diameter of the cylinder) and the groove on top that has to allow the cylinder base extension to nest inside the compressor—and frankly, that isn’t all that critical so long as the cylinder fits inside. Its depth is arbitrarily a quarter-inch and the diameter is the outside diameter of the cylinder extension. The actual outside diameter of the tool is arbitrary. The tapered portion of the compressor should be as shallow as possible (to allow gentle compression of the rings) while leaving a good quarter-inch of thickness at the “opening” of the tool (for strength). The dimensions shown on our sketch are good starting points.


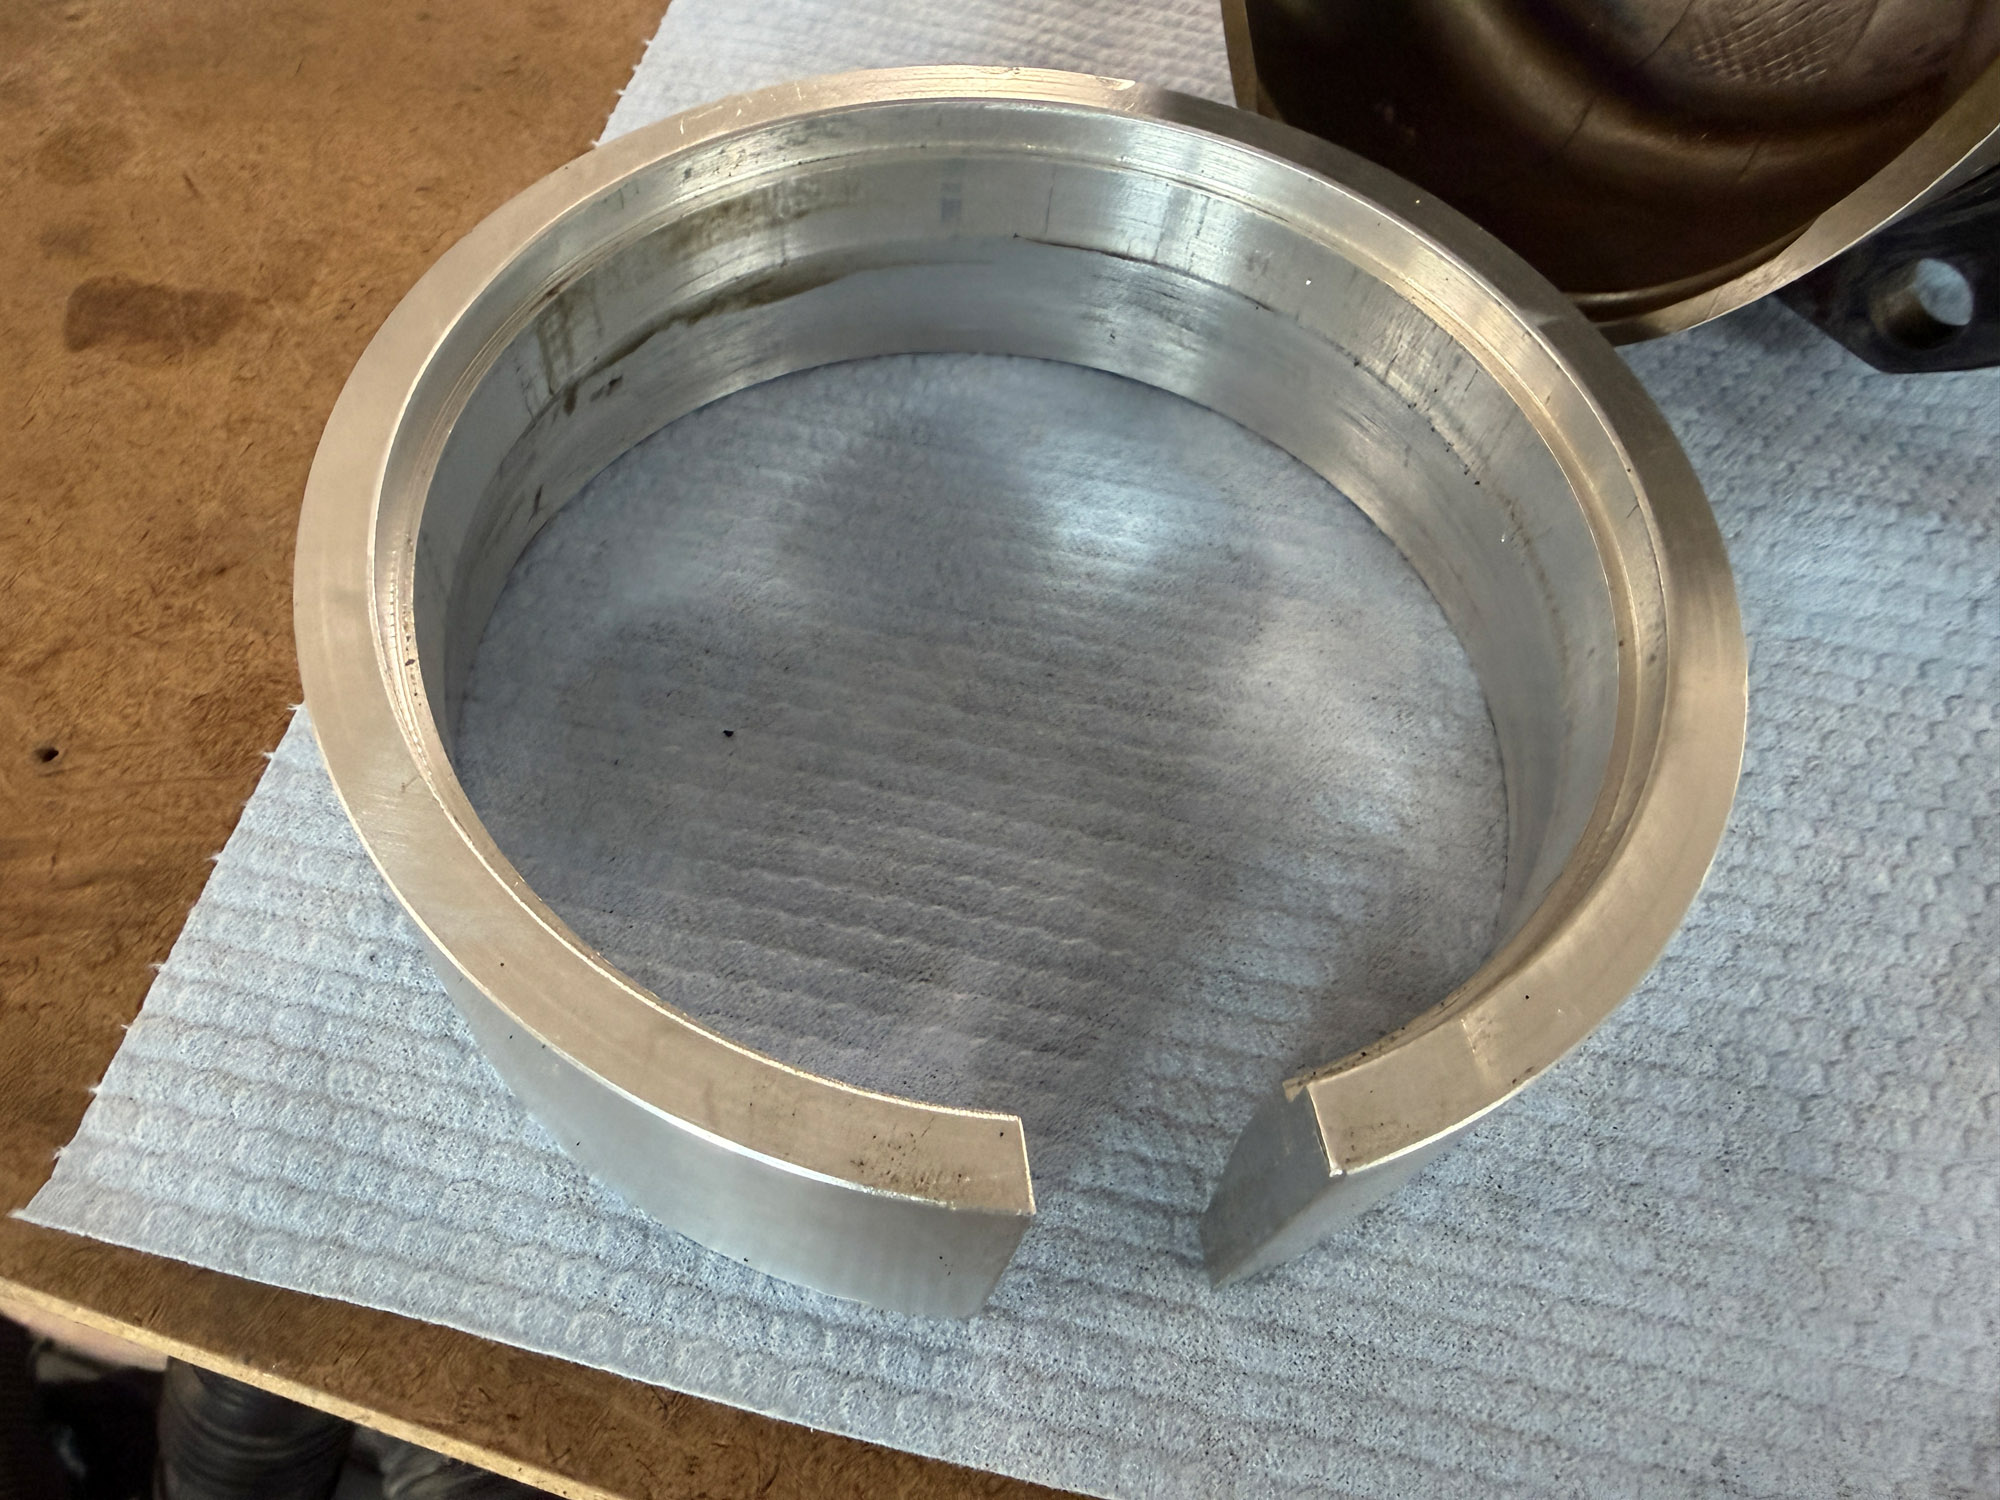
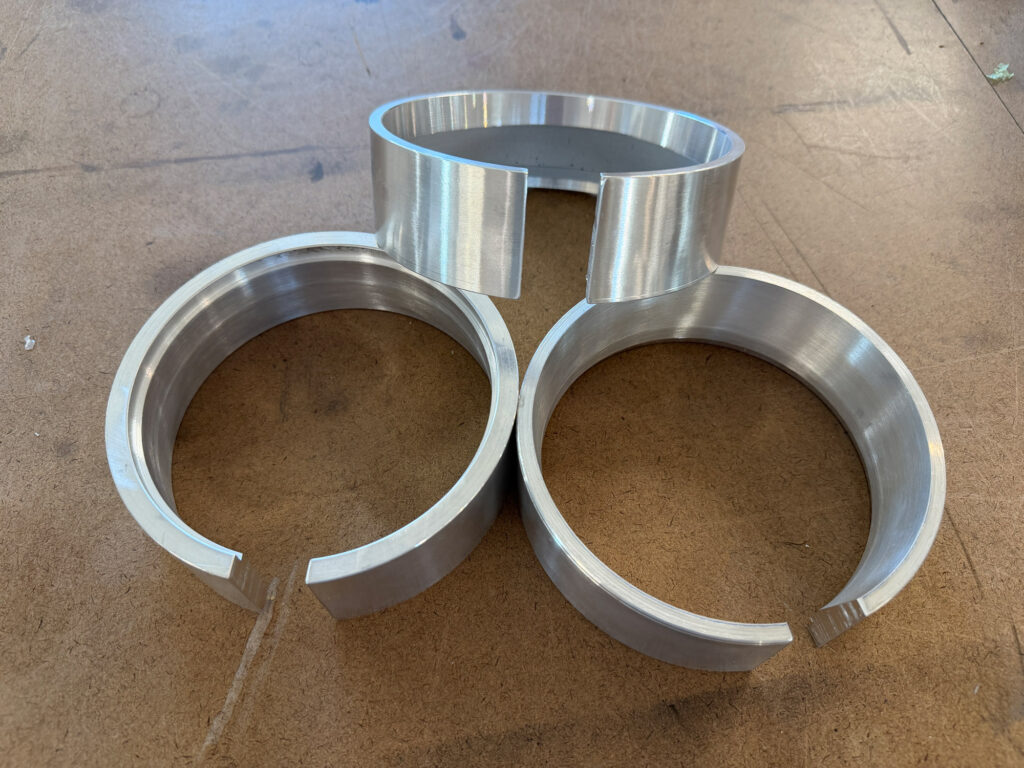
Cutting the slot (which is nominally 1 inch wide) is made easier with a wooden fixture built by David. Its inside dimension matches the outside diameter of the tool, with a slot reinforced with bonded-on aluminum faces. This allows you to easily guide the tool through a band saw to cut the slot. The fixture prevents the tool blank from spreading when the cut is made—and in truth, it changed dimension very little when the slot was cut, so our fears of a large dimensional change did not come true. The faces were finished—with the tool still in the fixture—using a router table.
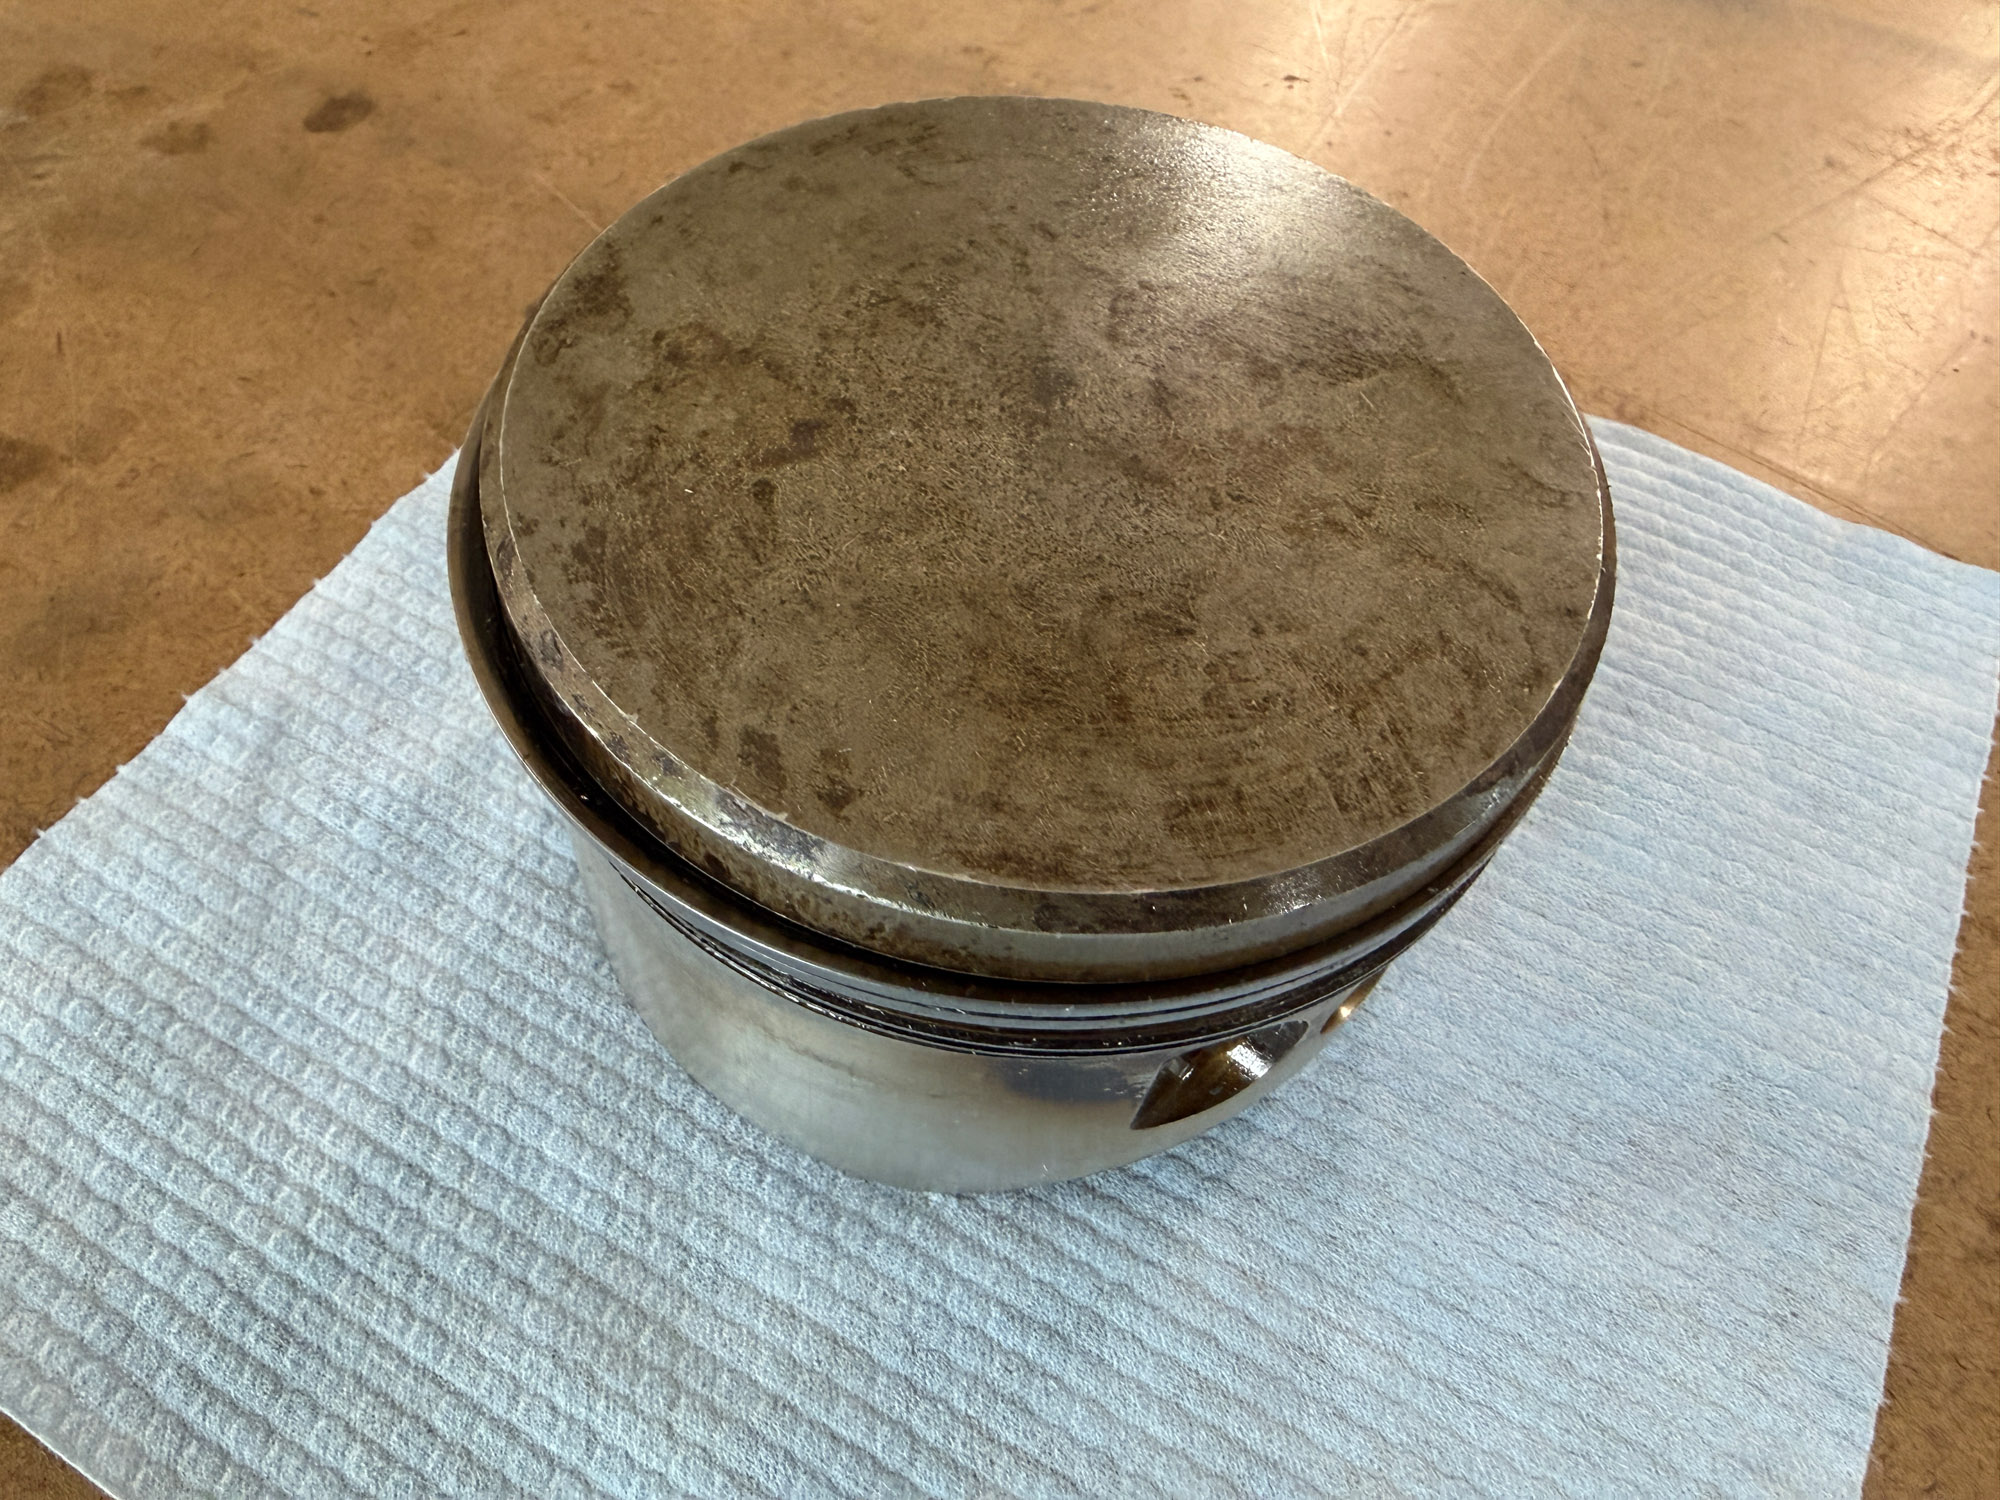
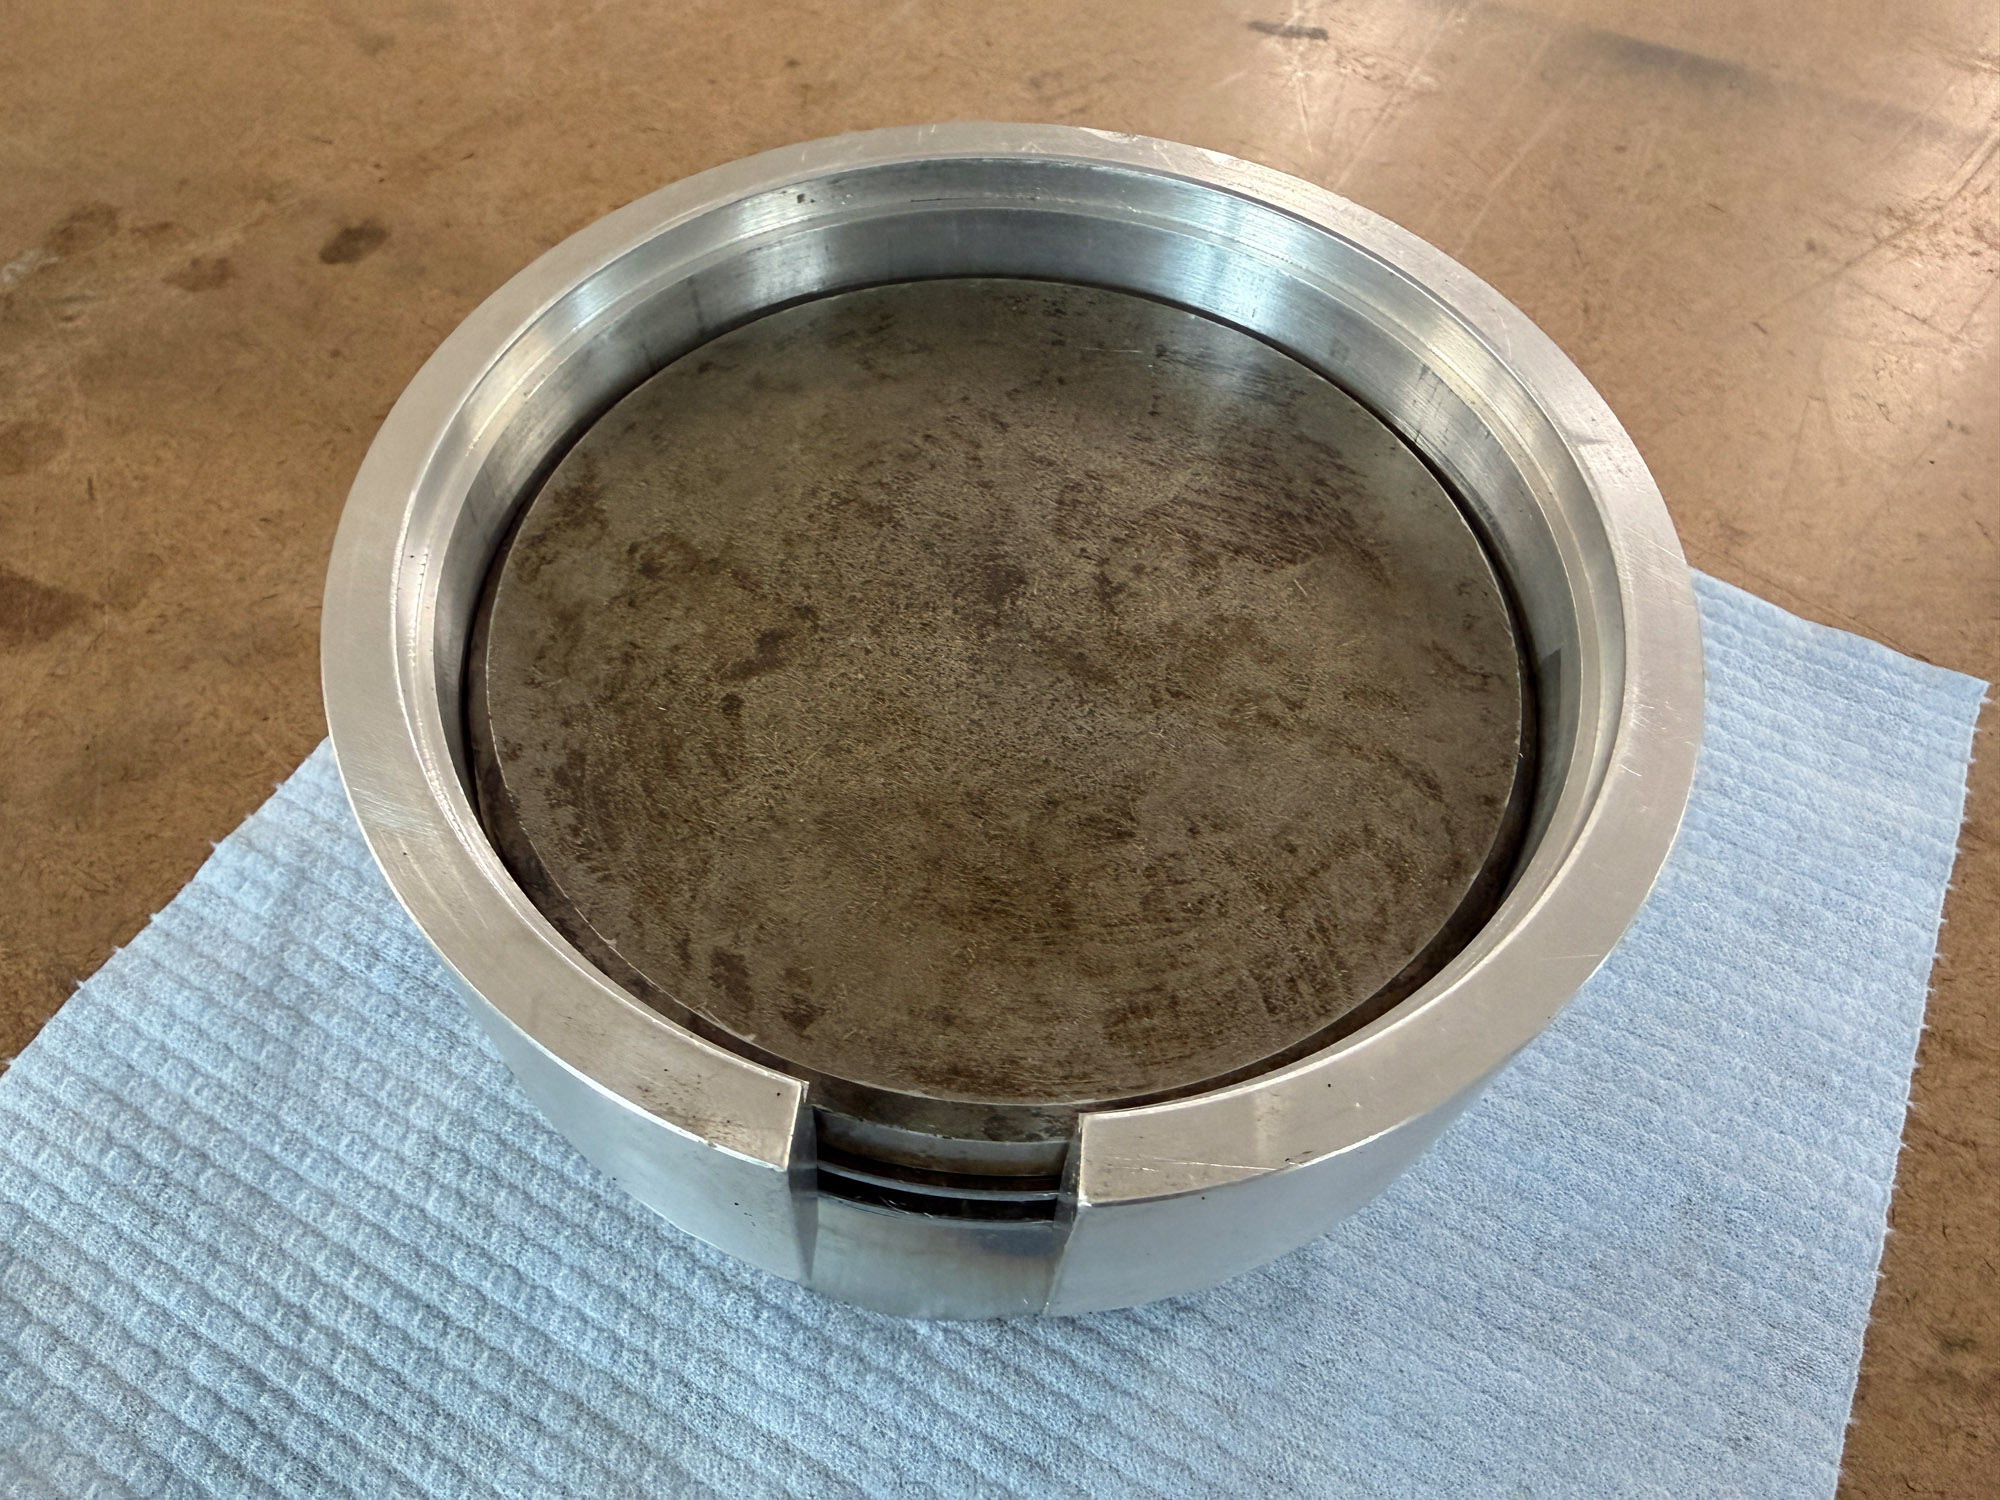
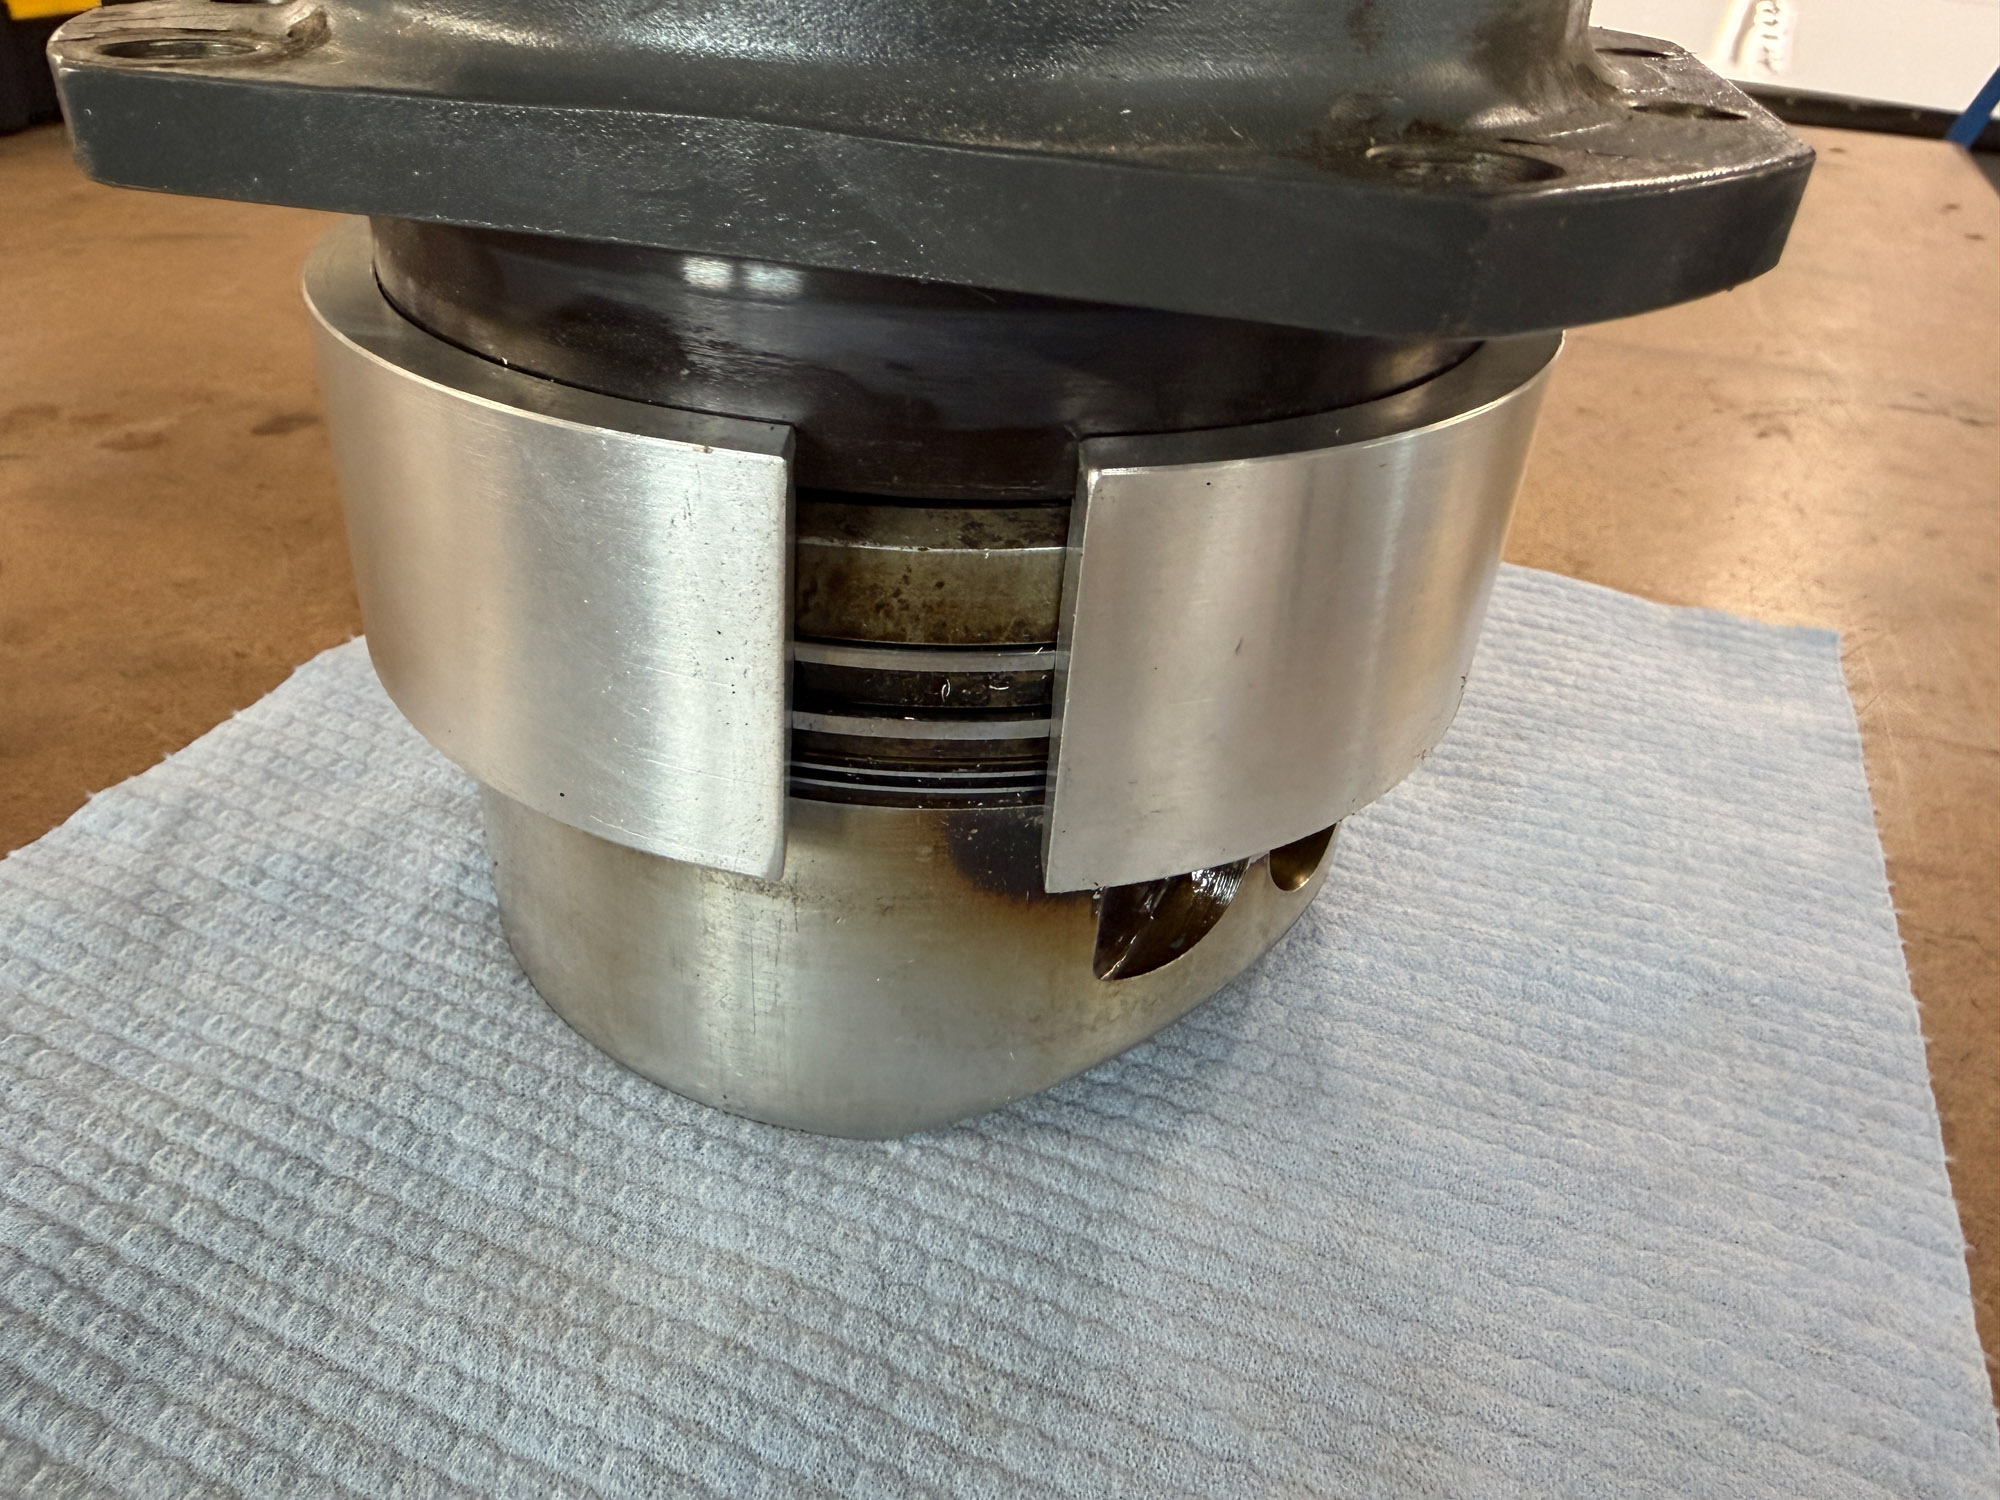

We tested all three of the units David made on an old piston, rings, and cylinder, and (once we had cleaned up the old piston ring grooves and rings), they all worked great. You may not have to remove and replace a cylinder very often if you are an individual homebuilder, but if you do, this tool makes the job much easier—and making one yourself instead of paying the factory list price will save you enough money to buy you four new cylinders—homebuilt aviation at its finest!
*Proofreader responds: 😮

I have built lots of aircraft engines and always had the best luck with wood tongue depressors for installing pistons. There is always a big box of them in my shop for mixing stuff. They are great for working the piston rings past the cylinder skirt and being hardwood, you don’t have to worry about damaging the jug, the ring or the piston. I guess I am a “minimalist” at heart… lol!!!
I was thinking that if you emptied a can of good quality brown beans and then served them with sausages of your choice you would be left with a variable piston ring compressor after removing the top and bottom ends. take a moment or two and remove the crimping bands as well as a vertical cut up the side of the tool (can) and then use a discarded shoelace with the help of a pencil to fashion a “spanish windlass” to effect a contraction of suitable circumference and Viola (pardon the lack of correct accents folks) and you have a very reasonably priced and recyclable tool to get the job done. $9K, I’m having heart palpitations as I read!
Not to distract from Paul’s great writing, but $9,000 for $10-20 worth heavy wall mechanical tubing and 2 hours machining by hobbyists machinist or 10 minutes of 5 axis CNC machine. $9,000 for a lightly trimmed piece of steel I can’t figure if it’s the ultimate gouging or something else , obviously the same committee that determined Engine prices is determining their Tool prices.
Excellent article and work! Thanks. I know I will need this in the next year.
Super article. Thanks Paul.
Wow – great stuff!
As a young and poor 2-stripe Airman in the late 60s I used finger nails to coax the rings into the cylinder of my BSA motorcycle. As a better-off First Lieutenant, I used the oven and freezer method to replace a crank shaft main bearing on my Kawasaki dirt bike. Likewise for the camshaft bearings on my 2004 Harley when I upgraded the engine. For the piston rings, I used a 4-inch worm clamp which cost a couple of bucks at the local hardware store. It only compressed one ring at a time but it was an easy enough job. Twenty-one years and 147,000 miles later I’m still riding that Harley.
…And I loved the other cheapo (and practical) ideas for throw-away ring compressors!
I might suggest releasing the design in OnShape (online CAD/CAM software), so that the entire community can use it, or alter it for different cylinders…
Thinking out loud here, but I wonder how much stress there is in this loop, and whether a 3D printed part would work. You could 3D print a ring without a gap for removal, and once the cylinder is in place, just cut the ring and flex or break it to get it past the connecting rod. Recycle the plastic. Material cost would be pretty low.